A leaking bathroom faucet can be a nuisance and result in wasted water and increased utility bills. Fortunately, fixing it yourself can be straightforward if you follow the right steps. Whether it’s a leaky cartridge or an old stem, addressing the problem early can save you time and money and prevent bigger issues down the road. Here’s a simple guide to help you learn how to fix a leaking bathroom faucet.
1. Turn Off the Water to the Sink
Before starting any work, the first and most crucial step is to turn off the water supply. Look for the shut-off valves under the sink and turn them clockwise until they stop. This will prevent any water from flowing to the faucet while you work. If you can’t locate these valves, you might need to shut off the main water supply to your home.
After turning off the water, open the faucet to drain any remaining water from the pipes. This will ensure that no excess water spills when you start disassembling the faucet.
2. Plug the Sink Drain
Once the water is off, make sure to plug the sink drain to prevent any small parts, such as screws or washers, from falling down the drain. Use a sink plug or place a towel or rag over the drain opening as a safeguard. If you have a pop-up sink plug, pull the handle and push it down securely. Trust us, searching for tiny parts that fell down into the sink’s drain trap isn’t fun.
3. Remove the Faucet or Faucet Handle
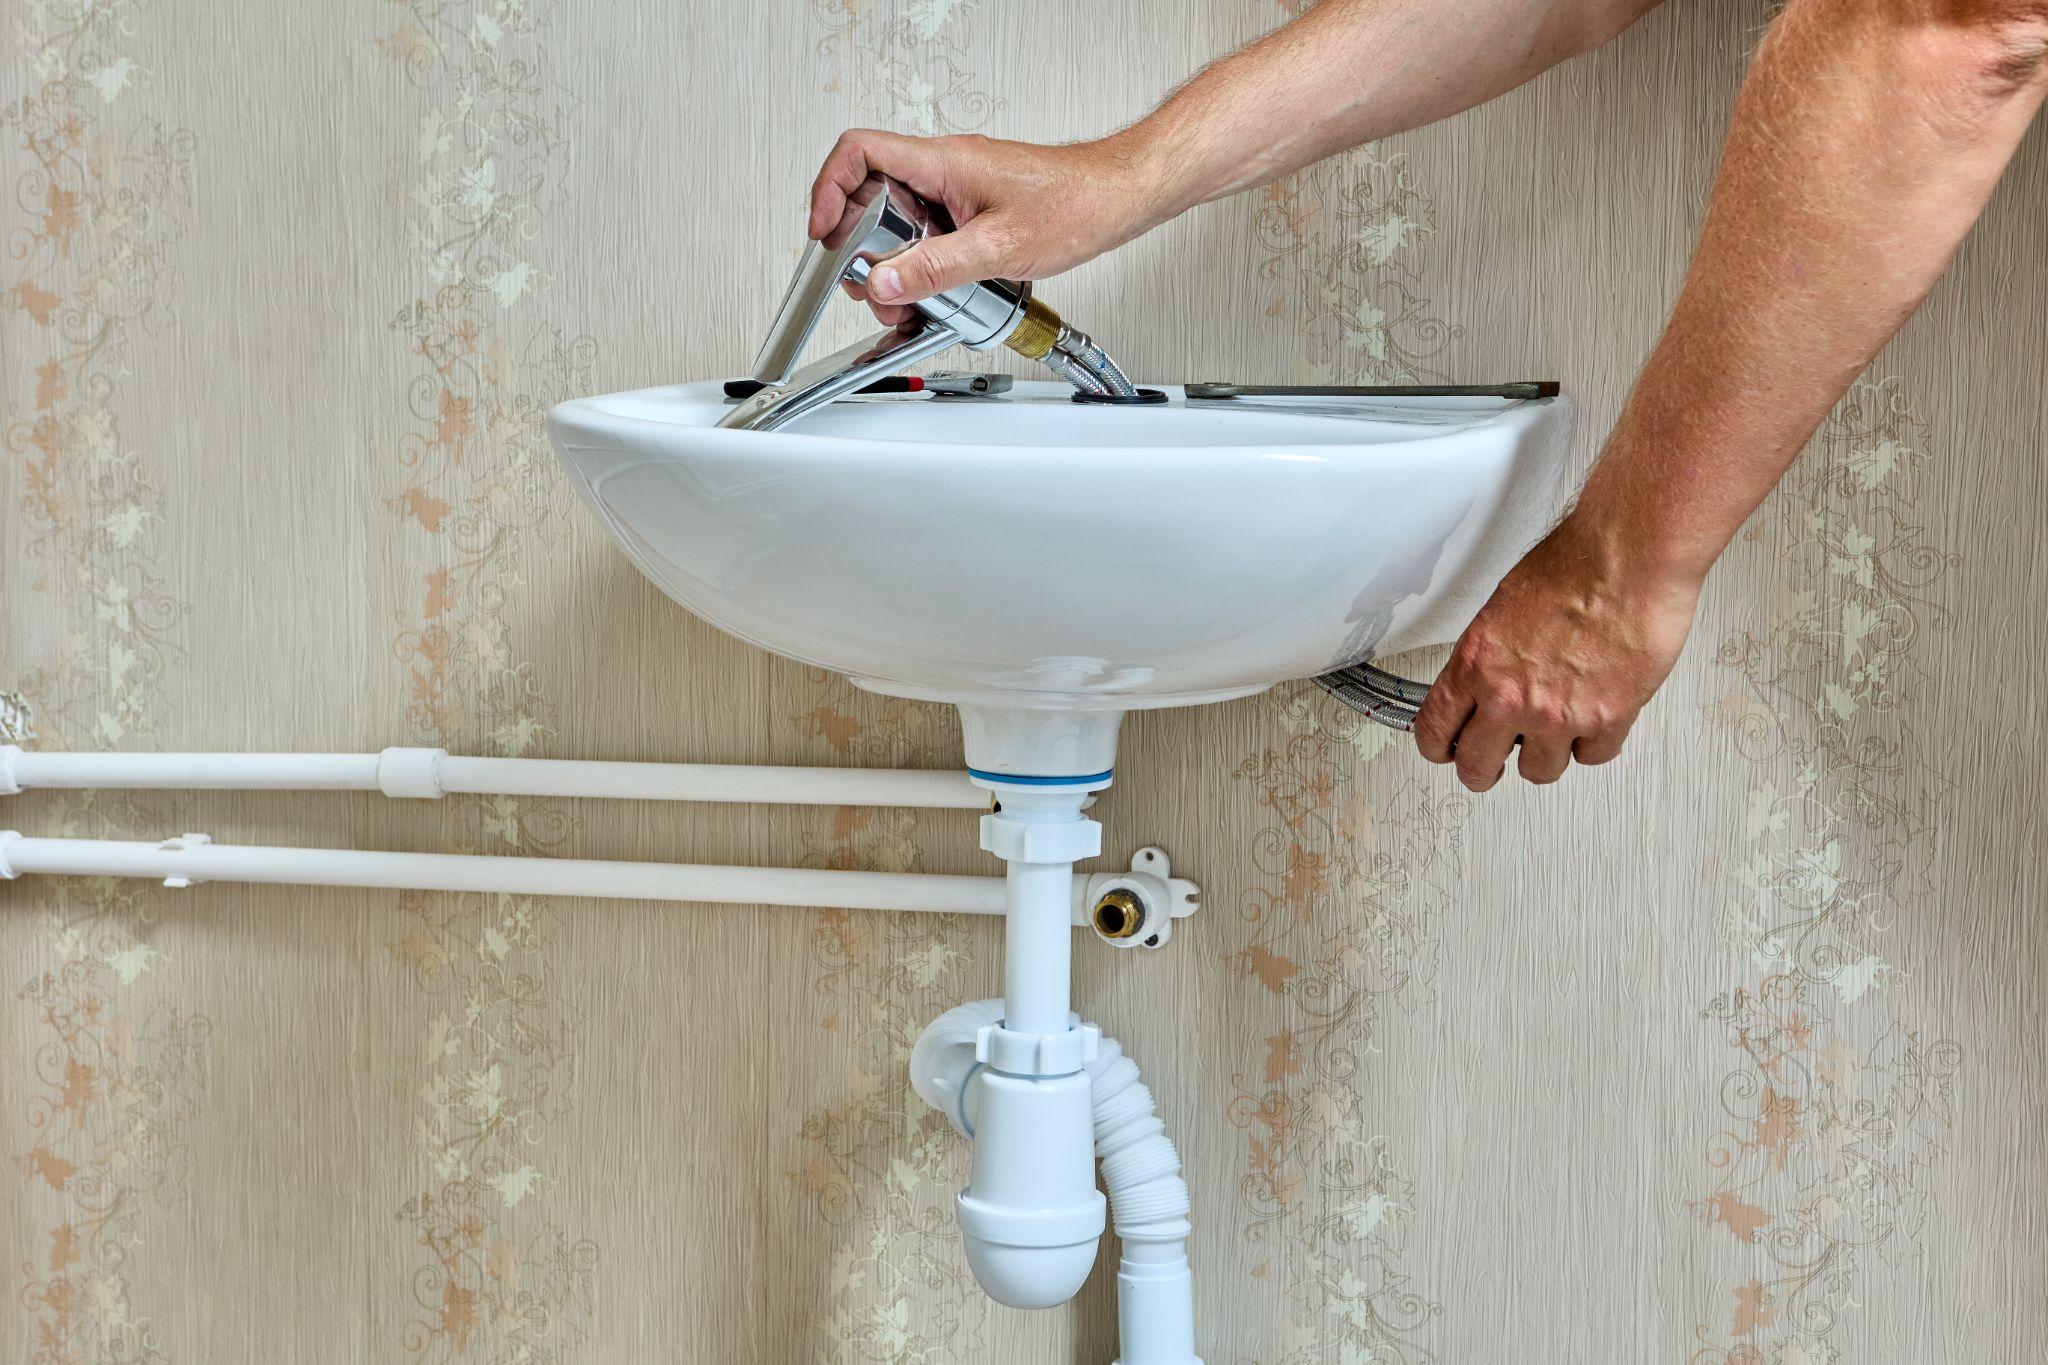
Next, you’ll need to remove the faucet or faucet handle to access the internal parts causing the leak. The method for this step depends on your faucet type. For many common designs, you’ll need to use a flathead screwdriver to carefully remove the decorative cap on the handle. Underneath, you’ll typically find a screw that holds the handle in place.
Use the appropriate screwdriver or Allen wrench to remove this screw, then pull gently to remove the handle. If your faucet handle is stuck due to mineral buildup, a little bit of white vinegar can help loosen it up. In some faucets, you may need to remove the actual faucet spout itself, which can usually be done by unscrewing or pulling it off, depending on the model.
4. Replace the Cartridge or Stem
Now that you’ve accessed the inner workings, it’s time to identify what’s causing the leak. Most commonly, bathroom faucets use either a cartridge or a stem system. If you have a cartridge faucet, you’ll need to remove the retaining nut or clip that holds the cartridge in place using a wrench or pliers. For a stem faucet, simply unscrew the stem.
Once the old part is removed, inspect it to ensure you get the right replacement at your local hardware store. It’s always a good idea to bring the part with you to ensure an exact match. Remember to pick up any new rubber O-rings and seals, as you should never reuse the old ones. Some replacement cartridges and stems include O-rings and seals, but others do not. Reusing the old ones can result in continued leaks and not fully resolve your leaking faucet.
When you have the replacement, carefully insert it into the faucet body. Check to make sure any rubber O-rings or seals are in their proper location. Be sure to follow any specific instructions included with your new cartridge or stem. Verify it is secured in place by replacing the retaining nut or clip, or screw.
5. Reassemble the Faucet
Once the new cartridge or stem is in place, it’s time to reassemble the faucet. Reverse the steps you followed earlier, securing the cartridge or stem, replacing the faucet handle or spout, and screwing everything back together.
Before turning the water back on, ensure everything is tightened properly to prevent future leaks. Slowly turn on the water supply and test the faucet by running water through it. Check for any leaks around the handle or spout.
If everything works correctly, congratulations. You’ve successfully fixed your leaking bathroom faucet. If there are still leaks, verify the cartridge or stem was installed correctly. You should also check the aerator if it is leaking out the top of the faucet. Unscrew the aerator, clean out any sediment, and replace the washer if it has one.
Get Professional Help for Leaky Faucets in Southern California Today
Need professional help? Don’t let a leaky faucet cause water damage or frustration. Our expert plumbers are here to help with any residential plumbing issues you might face. We understand not everyone may feel comfortable fixing a leaking bathroom faucet. Contact Lynch Plumbing today for fast, reliable, and affordable service and peace of mind. We service all of Los Angeles, Ventura County, and the San Fernando Valley area.